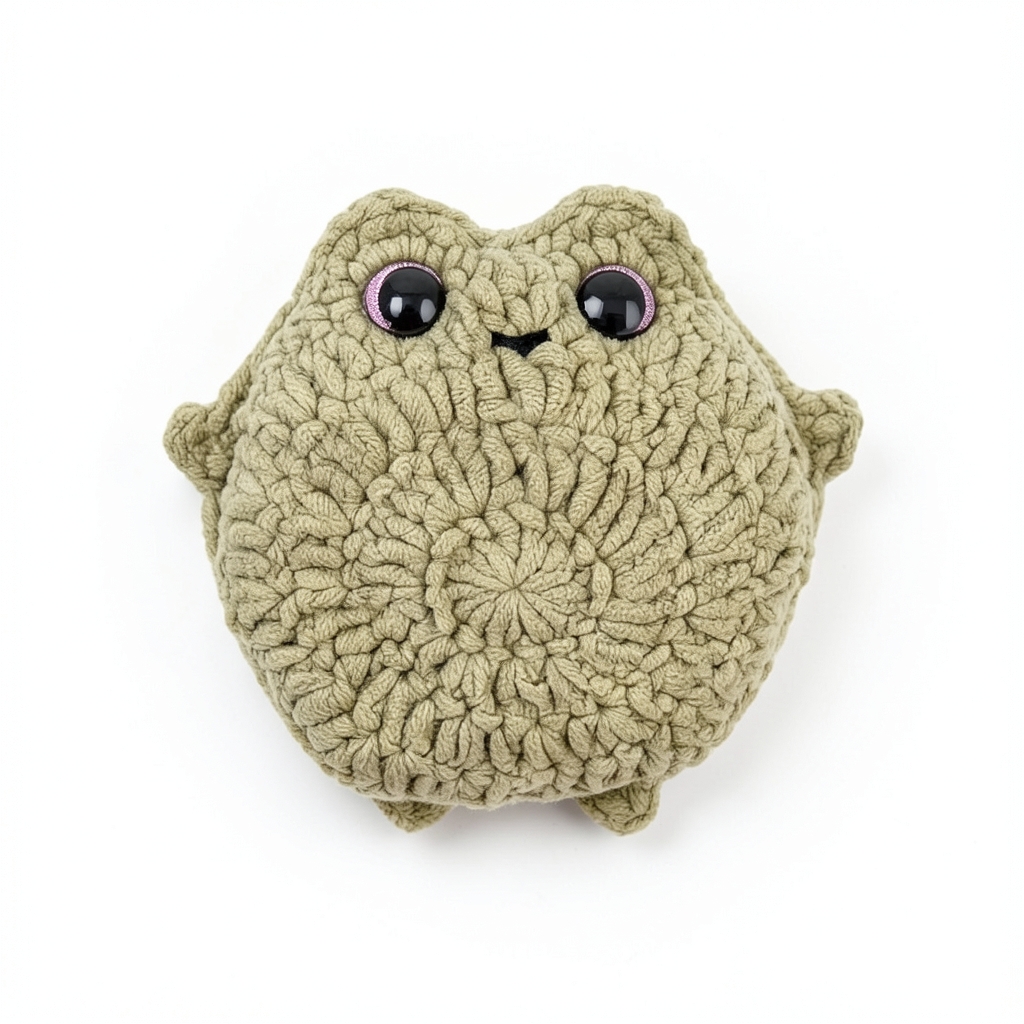
A tiny, adorable little frog, accessible even for beginners 🐸
- Level
- Beginner
- Time
- 2 to 4 hours
Materials
Green and black chenille yarn 8mm crochet hook Stuffing Yarn needle Safety eyes Stitch marker (recommended)
Step 1 : The body (x2)
Make two identical pieces.
Row 1
In a magic ring, crochet 15 double crochet, then close the round with a slip stitch. (Do not count the 3 chain stitches at the beginning of the round as a double crochet.) → 15 stitches
Row 2
Increase in every stitch, that is, 2 double crochet in each stitch. → 30 stitches
Row 3
Alternate 1 double crochet then 1 increase across the row. → 45 stitches
Row 4
Alternate 2 double crochet then 1 increase across the row. → 60 stitches
Row 5
Last row. We crochet the eyes, the arms, the thighs, and the feet all at the same time. We continue like this all around the circle.
Let's start the row: - Single crochet 2 stitches, one in each of the first 2 stitches of the row. - First eye: in the next stitch, single crochet 6 double crochet stitches, all worked into the same stitch. The 6 double crochet stitches fan out to form the rounded relief of the eye. - Single crochet 8 stitches, one in each of the next 8 stitches. - First arm: chain 3 to raise the small chain of the arm, then single crochet 2 stitches along this chain (one single crochet in each of the first 2 chain stitches going back towards the base). The arm thus stands vertical to the body. - Single crochet 10 stitches, one in each of the next 10 stitches. - First thigh: single crochet 4 double crochet stitches, one in each of the next 4 stitches, then single crochet 1 stitch in the following stitch. The taller double crochet stitches give volume to the thigh. - First foot: chain 4 to raise the chain of the foot, then single crochet 3 stitches along this chain (one single crochet in each of the first 3 chain stitches going back towards the base). - Single crochet 7 stitches, one in each of the next 7 stitches. (This section forms the separation between the two feet.) - Second foot: chain 4, then single crochet 3 stitches along the chain, as for the first foot. - Single crochet 1 stitch in the next stitch. - Second thigh: single crochet 4 double crochet stitches, one in each of the next 4 stitches. - Single crochet 10 stitches, one in each of the next 10 stitches. - Second arm: chain 3, then single crochet 2 stitches along the chain, as for the first arm. - Single crochet 8 stitches, one in each of the next 8 stitches. - Second eye: in the next stitch, single crochet 6 double crochet stitches, all worked into the same stitch. - Single crochet 2 stitches, one in each of the last 2 stitches of the row. → Close the row with a slip stitch, cut and weave in the ends.
Step 2 : Join the two sides
On one of the sides, attach the eyes at the level of the 6 double crochet and embroider the smile. Superimpose the two pieces so that the right side of each remains visible on the outside: the front piece placed right side out (visible side facing you), and the back piece turned inside out, the side where the magic ring thread is turned inward (therefore facing the front piece). The two pieces are thus back to back, their wrong sides against each other, and their two right sides visible on each side. Join the two pieces with a crochet slip stitch. For an invisible seam, insert the crochet into the two strands that face each other, the outer strand of the front piece and the corresponding strand of the back piece. Leave a small opening before finishing the round, so you can stuff the body, then carefully close the opening with a few extra slip stitches. →Cut and weave in the remaining ends neatly.